


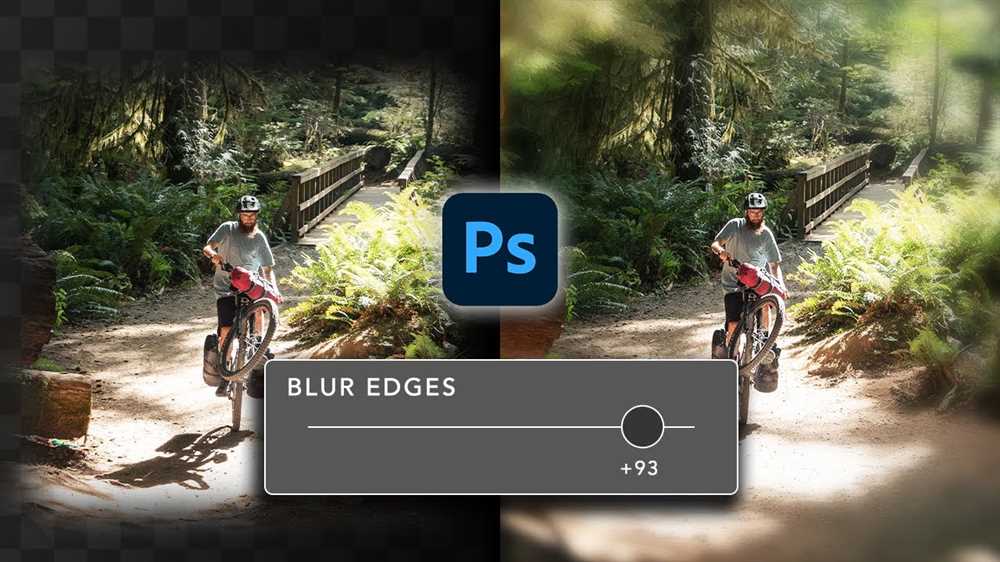
Blurring and blending images can be a challenging task, especially if you don’t have the right tool for the job. But fear not, because we have the perfect solution for you! Introducing our innovative and powerful blurring tool that will transform the way you work with blur and unconventional ways.
Gone are the days when hacks were used to achieve a simple blur effect. With our blurring tool, you can now achieve professional-level results with just a few clicks. Whether you’re looking to add a touch of mystery to your portraits or create stunning visual effects, our unconventional ways of blurring and blending images will elevate your creative projects to new heights.
Don’t settle for ordinary. Unlock the power of our blurring tool and explore a world of endless possibilities. Say goodbye to complicated editing techniques and hello to effortless and breathtaking results. Try our blurring tool today and see the difference it can make in your image editing workflow!
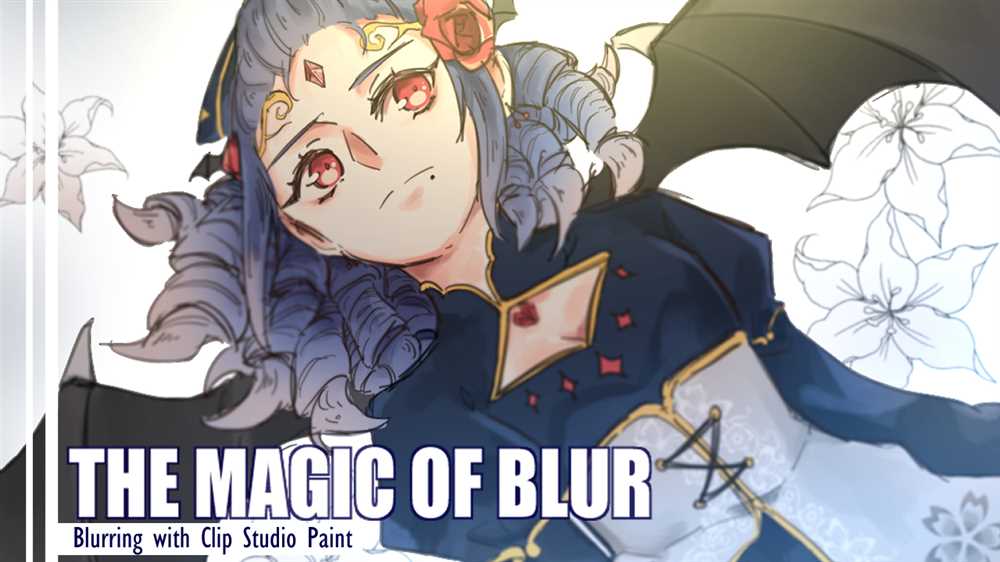
Creative Techniques for Image Blurring
Are you tired of traditional image blurring techniques? Do you want to try something new and unconventional? Our blurring tool is here to help you unleash your creativity and experiment with unique ways to blur and blend images. Check out these creative techniques:
- Double Exposure: Combine two images with different subjects or scenes to create a mesmerizing blur effect. This technique adds depth and visual interest to your photos.
- Bokeh Effect: Use our blurring tool to create beautiful bokeh effects, where the background is blurred while leaving the subject sharp and in focus. This technique is perfect for adding a dreamy and romantic touch to your photos.
- Radial Blur: Experiment with radial blur to create a dynamic and energetic effect. This technique is great for adding a sense of motion or highlighting a specific subject in your photos.
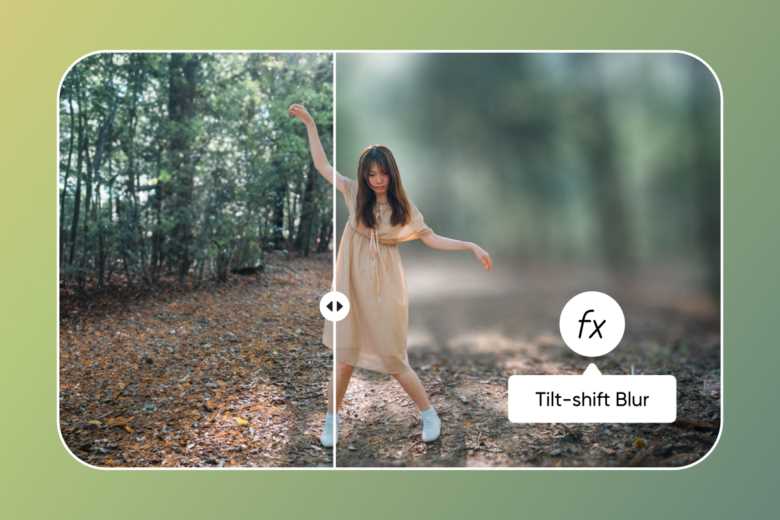
- Tilt-Shift: Mimic the look of a miniature scene by blurring the top and bottom parts of your image, while keeping the middle part sharp. This technique is popular for creating a “tilt-shift” effect, making real-life scenes appear as tiny models.
- Motion Blur: Blur moving objects to give the impression of speed and movement in your photos. This technique is perfect for capturing dynamic action shots or creating an artistic and abstract effect.
With our blurring tool, the possibilities are endless. Don’t be afraid to think outside the box and explore new ways to blur and blend images. Start experimenting today and take your image editing to the next level!
Experimenting with Motion Blur
Motion blur is the unconventional way to add a dynamic effect to your images. With the blurring tool, you can create intriguing visual effects that give the illusion of movement.
One of the ways you can experiment with motion blur is by using it to capture the energy and speed of a moving object. By applying the blur effect in the direction of the object’s movement, you can create a sense of motion and action in your image.
Another way to explore motion blur is by experimenting with different shutter speeds. Adjusting the shutter speed can result in varying levels of blur, allowing you to control the intensity of the effect. This technique is popular in sports photography, where it can convey the sense of speed and excitement.
Blending images with motion blur is yet another unconventional hack you can try. By combining multiple images with different levels of blur, you can create a surreal and dreamlike composition. This technique works particularly well with landscape and nature photography, adding a touch of magic to your pictures.
So, don’t limit yourself to traditional blurring techniques. Explore the creative possibilities of motion blur with the blurring tool, and discover new and unconventional ways to enhance your images. Whether you want to capture the essence of movement, experiment with shutter speeds, or blend images for a surreal effect, the blurring tool is your key to unlocking a world of visual storytelling.
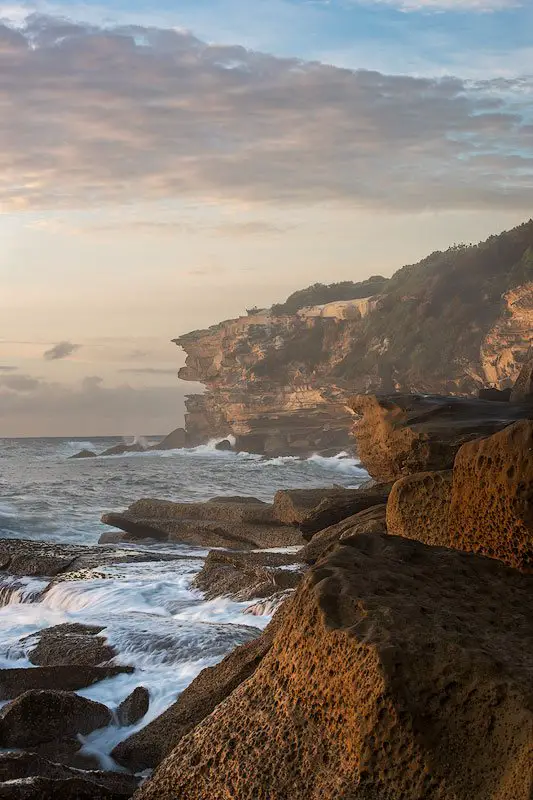
Exploring Depth of Field Blur
When it comes to blurring and blending images, there are many unconventional ways to achieve unique effects. One of these techniques is exploring depth of field blur, which can add a beautiful and artistic touch to your photos.
Depth of field refers to the distance between the nearest and farthest objects in a scene that appear acceptably sharp in an image. By using depth of field blur, you can selectively focus on a specific subject while blurring the background or foreground, creating a sense of depth and emphasizing the main subject.
There are various ways to achieve depth of field blur. Here are a few hacks to help you experiment with this technique:
- Aperture settings: Adjusting the aperture on your camera can significantly affect the depth of field. By using a wider aperture (lower f-stop number), you can create a shallower depth of field, resulting in a more pronounced blur.
- Distance from the subject: The distance between the camera and the subject can also impact the depth of field. By getting closer to the subject, you can achieve a shallower depth of field and a stronger blur effect.
- Using a telephoto lens: Telephoto lenses compress the depth of field, making the background appear closer to the subject. This effect can create a more pronounced blur in the background.
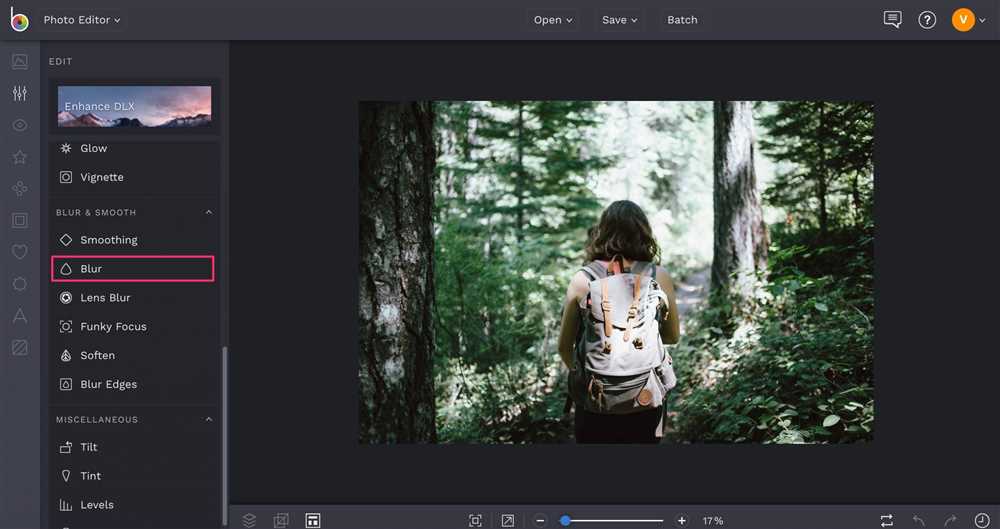
- Post-processing techniques: If you’re not satisfied with the depth of field blur achieved in-camera, you can enhance it further using post-processing software such as Adobe Photoshop. With tools like the “Lens Blur” filter, you can simulate a realistic and customizable depth of field effect.
Exploring depth of field blur can lead to stunning and visually captivating images. By experimenting with different techniques and settings, you can take your blurring and blending skills to new heights, creating unique and unforgettable visuals.
Using Bokeh Effect for Dreamy Blurs
When it comes to blurring and blending images, our blurring tool hacks offer unconventional ways to achieve stunning effects. One technique that stands out is using the bokeh effect.
The bokeh effect is a popular photography technique that creates beautiful and dreamy blurs. By manipulating the depth of field and focusing on a specific subject, you can achieve a blurred background with soft, out-of-focus lights.
To achieve the bokeh effect, start by selecting a lens with a wide aperture, such as f/1.4 or f/1.8. This will create a shallow depth of field, making it easier to blur the background. Next, find a subject to focus on. It could be a flower, a person, or any object that you want to stand out in the image.
Once you have set up your shot, position your subject in front of a background that includes a source of lights, such as city lights, street lamps, or even holiday decorations. The lights should be at a sufficient distance from your subject and arranged in a way that creates a pleasing and balanced composition.
Now, with your blurring tool, adjust the focus on your subject while keeping the background lights out of focus. You can experiment with different levels of blur to achieve the desired effect. The result should be a stunning image with a dreamy and romantic atmosphere.
Whether you want to add a touch of magic to your portraits, create artistic and abstract images, or simply explore new ways of blurring and blending, the bokeh effect is a powerful tool in your creative arsenal. So, go ahead and experiment with this unconventional technique and watch your images come alive with dreamy blurs!
Advanced Image Blending Techniques

When it comes to blurring and blending images, there are numerous unconventional ways to achieve stunning results. By thinking outside of the box and utilizing the blurring tool in unique ways, you can take your image editing skills to the next level.
1. Double Exposure Blending: Combine two or more images with different levels of transparency to create a mesmerizing effect. By blending multiple images together, you can create a sense of depth and complexity in your visuals.
2. Gradient Blur: Instead of applying a uniform blur to your entire image, consider using a gradient blur. This technique adds depth and dimension to your images by selectively blurring certain areas and keeping others in focus. Experiment with different gradient shapes and opacities to achieve the desired effect.
3. Texture Blending: Enhance the texture of your images by applying a subtle blur and then layering a texture on top. This technique works particularly well for adding a vintage or grunge look to your visuals. Experiment with different textures and blending modes to create a unique and captivating result.
4. Motion Blur: Add a sense of movement and dynamics to your images by applying a motion blur. This technique is especially effective for action shots or images with fast-moving subjects. Experiment with different blur intensities and directions to achieve the desired effect.
5. Multiple Blur Layers: Rather than applying a single blur to your image, consider using multiple blur layers to create a more complex and immersive effect. By selectively blurring different areas of the image, you can draw the viewer’s attention to specific elements and create a dynamic visual experience.
By exploring these unconventional ways to blur and blend images, you can elevate your image editing skills and create unique and captivating visuals. Experiment with different techniques, play with opacity and blending modes, and let your imagination run wild. The possibilities are endless!
Layering Images with Different Blurring Settings
When it comes to blurring and blending images, the Blurring Tool Hacks offers unconventional ways to achieve stunning effects. One such technique is layering images with different blurring settings, which can result in unique and artistic compositions.
To start, select two or more images that you want to blend together. These images can be of any subject matter, from landscapes to portraits. The key is to choose images that have a clear distinction between the foreground and background.
Once you have your images, open the Blurring Tool Hacks and import each image into the program. Now, you can begin experimenting with different blurring settings for each layer. By applying varying levels of blur to different parts of the image, you can create a sense of depth and focus.
For example, you can apply a subtle blur to the background layer to create a sense of distance and depth. Then, use a stronger blur effect on the foreground layer to draw attention to the main subject. This contrast in blurriness adds visual interest and can make your image pop.
Another technique you can try is selectively blurring specific areas of the image. By using the Blurring Tool Hacks’ brush tool, you can paint over areas that you want to blur, while preserving the sharpness of other areas. This allows you to create a focal point or emphasize certain elements in the image.
Don’t be afraid to experiment and play around with different blurring settings. The Blurring Tool Hacks are designed to give you full control and freedom to explore your creativity. The possibilities are endless, and you can discover unique and unconventional ways to blur and blend your images.
So, whether you’re a professional photographer or just someone who loves to experiment with images, the Blurring Tool Hacks can revolutionize the way you work with blurring and blending. Take your images to the next level and unlock their full potential with this innovative tool.
Applying Gradient Masks for Smooth Transitions
When it comes to editing images, there are countless ways to blend and blur them. However, if you’re looking for something truly unconventional, our Blurring Tool Hacks have got you covered. One technique that can bring your images to the next level is applying gradient masks for smooth transitions.
A gradient mask allows you to blend different elements of an image seamlessly, creating a gradual transition from one area to another. This technique is particularly useful when you want to blend two distinct objects in a natural and visually appealing way.
Here’s how you can use our Blurring Tool Hacks to apply gradient masks:
- Select the Blurring Tool from our toolset.
- Choose a gradient mask option from the menu.
- Adjust the direction and intensity of the gradient to achieve the desired effect.
- Apply the gradient mask to the specific areas you want to blend.
- Preview the changes and make any necessary adjustments.
- Save your edited image and enjoy the smooth transitions you’ve created!
By using gradient masks with our Blurring Tool Hacks, you’ll be able to take your image editing skills to the next level. Whether you’re a professional photographer or an amateur enthusiast, these unconventional ways of blurring and blending images will give your creations a unique and artistic touch. So why wait? Start experimenting with gradient masks today!
What is the Blurring Tool Hacks? Does it work on all image formats?
The Blurring Tool Hacks is a software or program that allows users to blur and blend images in unconventional ways. It can work on most common image formats such as JPEG, PNG, and GIF.
Can I use the Blurring Tool Hacks on my smartphone?
Yes, you can use the Blurring Tool Hacks on your smartphone. There are versions of the program available for both iOS and Android devices.
What are some unconventional ways to blur and blend images with the Blurring Tool Hacks?
With the Blurring Tool Hacks, you can try out various creative techniques to blur and blend images. Some examples include using motion blur to create the illusion of movement, using tilt-shift blur to create a miniature effect, and using radial blur to create a vortex-like distortion.
Can I undo the changes made with the Blurring Tool Hacks?
Yes, you can undo the changes made with the Blurring Tool Hacks. The program has an undo feature that allows you to revert back to the original image or previous edits.
Is the Blurring Tool Hacks suitable for professional photographers and designers?
Yes, the Blurring Tool Hacks can be used by both professional photographers and designers. It offers a range of advanced blurring and blending options that can help enhance their creative work.

+ There are no comments
Add yours